To print your barcode labels follow these steps:
1. Click on “Report Center” on the bottom left Menu.
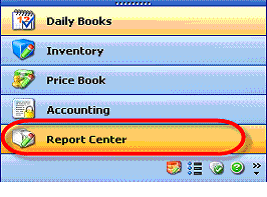
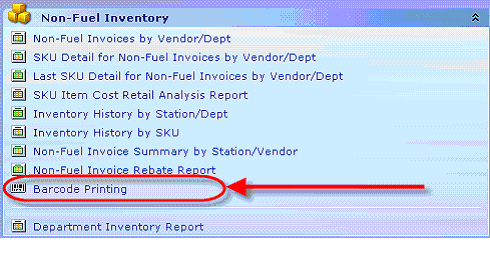
2. Select the Expand button on the right side by Non-Fuel Inventory.

3. Menu will expand then click on Barcode Printing.
4. Click on the “Click here to add filter criteria” button

5. Choose Filters that are desired
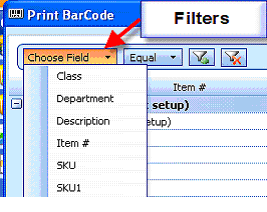
6. You may add additional filters by clicking on the “Add Criteria” icon indicated below and the second filter line will appear.

7. After selecting the list of items you desire, you will determine if you want your label to display PRICE (you will also need to choose a station if you a multi site), as well as the barcode (which is a code not made to scan at register unless programmed).
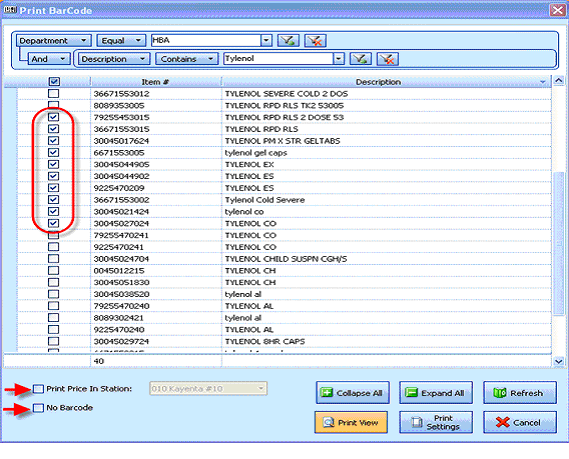
8. Final step is to Print so you will need to click on “Print View” and modify your Print Settings accordingly. WARNING:DO NOT PRESS ON CANCEL (this will cancel your label request)
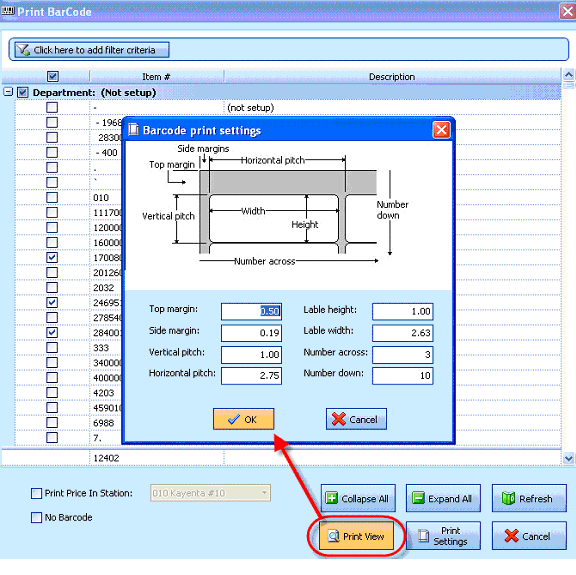
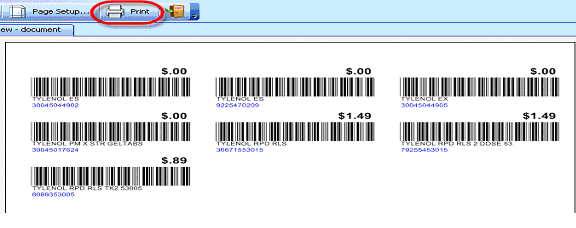
9. Press “OK” and you will be prompt to View your Barcodes as you desired. You may now press “Print” option located on the top left.
Department Inventory Report