How to View, Edit and Delete a Non-Fuel Invoice
In the example pictured below these invoices were received via the “MailEDI” system.
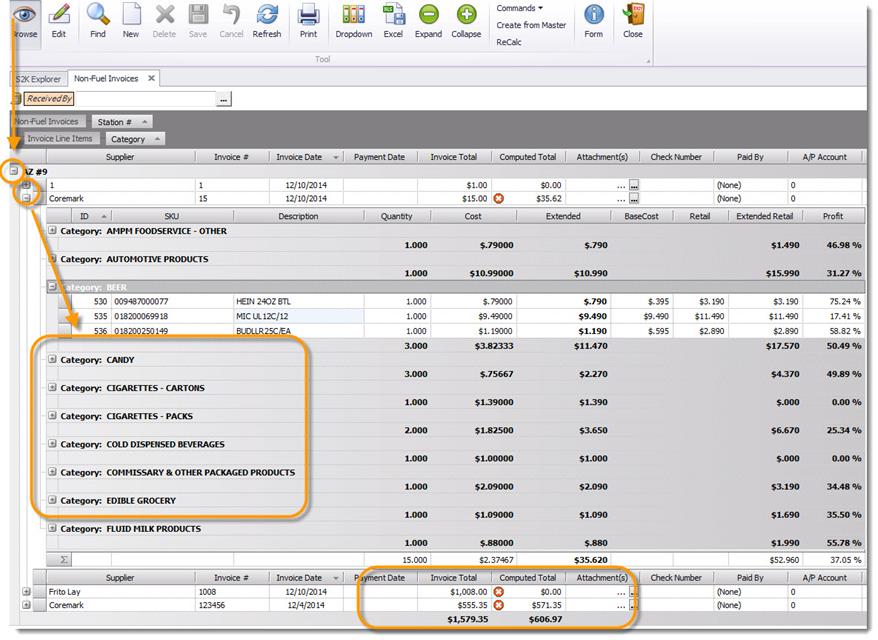
In this example we have expanded one of the “+” so you can view the details without opening the actual invoice.
You can also edit basic invoice details by clicking on the EDIT button and changing and then saving.
The SAVE button does not become “live” till you have made a change and gone from the field you are editing.
How to Manage EDI Invoices
An EDI invoice is an invoice that loads into S2K automatically from a main grocery vendor, such as McLane, or Coremark.
EDI invoices are not entered at site level, but do still need to be checked for accuracy and pricing.
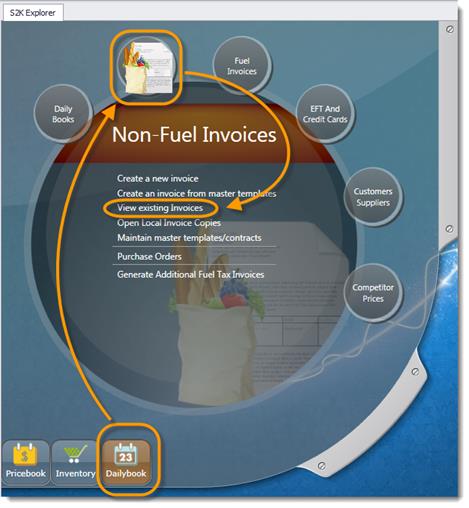
To begin, click the view existing invoices link from the daily book/non fuel invoice menu
The search window will open (pictured below).
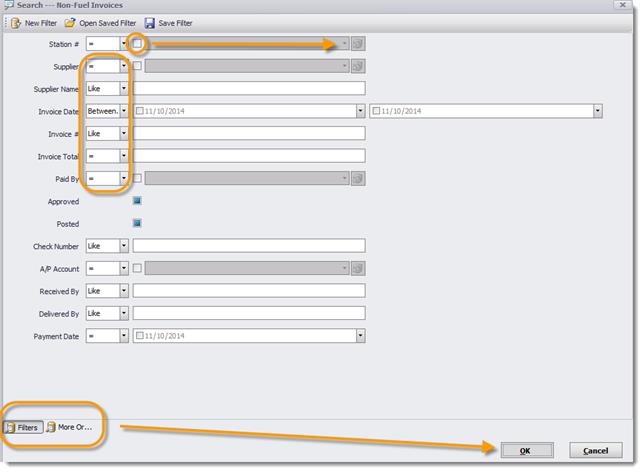
Select the station and vendor name from the search fields by clicking the box next to the field to activate and then using the dropdown arrows to select the name.
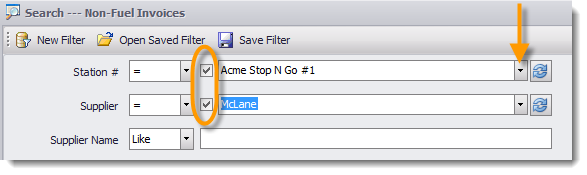
Click the OK button to search:

Click the plus (+) sign next to the station name to expand the list of invoices:
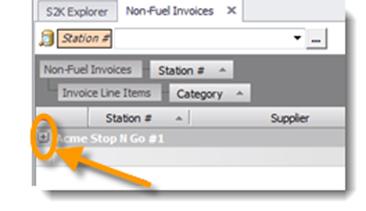
Then double click on the invoice number to open the invoice details
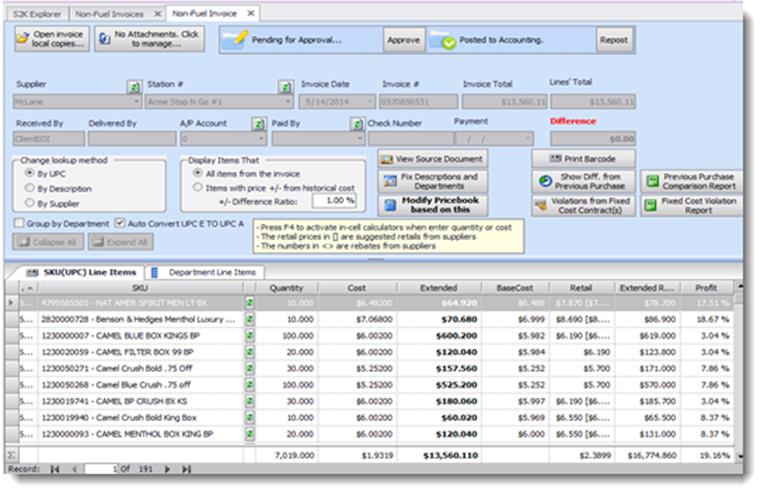
The following list of items should be checked on an EDI invoice:
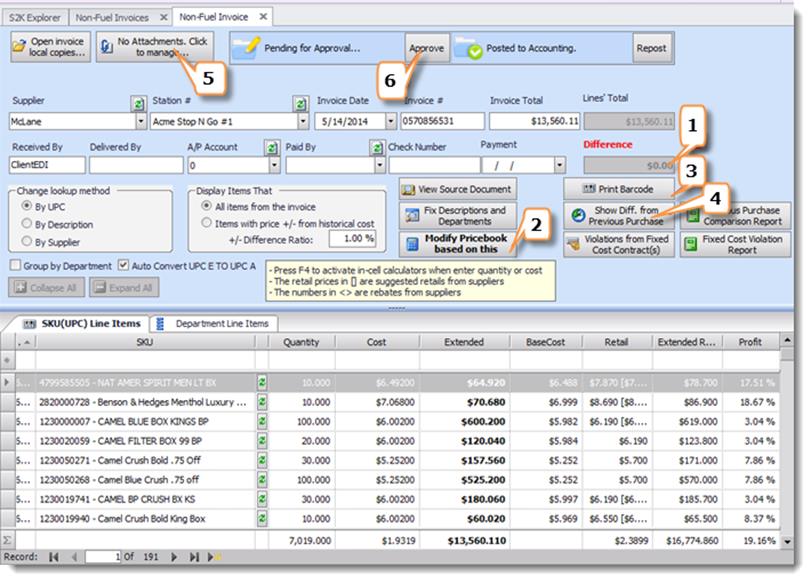
1. DIFFERENCE: This shows you the difference between your actual invoice Total and the Lines Total (all the details added up). Confirm that the Invoice total and Invoice line total match and that the difference field displays $0. Please note- If an invoice total does not match the line total, then compare the electronic copy of the invoice to the printed hard copy to locate the difference. Then let an S2K representative know the details, so they can work with the vendor to correct.
2. MODIFY PRICEBOOK BASED ON THIS INVOICE: Use the Modify Pricebook Based on this button to setup new items, check profit margin and assign/update retail figures to the POS
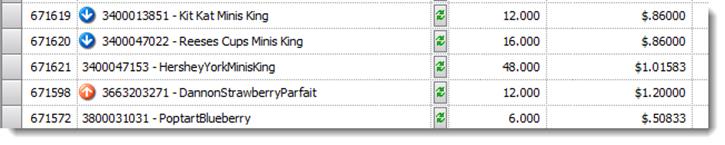
3. SHOW DIFF FROM PREVIOUS PURCHASE- To view cost changes from the previous purchase, click the show diff from previous purchase button. The system will show a red arrow up if the cost has increased since the last purchase, and a blue arrow down if the cost has decreased.
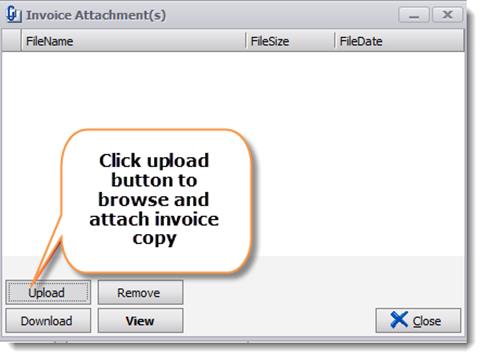
4. ATTACHMENTS, CLICK TO MANAGE- Use this button to attach a copy of the electronic invoice.
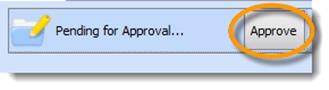
5. APPROVE- the last step is to approve the EDI invoice. When finished with the invoice, click the approve button and the invoice will be locked, so that no further changes can be made. If changes need to be made in the future, click the un-approve button, make changes, then approve again when finished.